Customizing your Samsung Galaxy device beyond its stock limitations can be an exhilarating experience. One of the key steps in this journey is installing TWRP (TeamWin Recovery Project), a custom recovery that enables you to flash custom ROMs, and mods, and perform various system-level tweaks. In this guide, we’ll walk you through the process of installing TWRP on your Samsung Galaxy device.
What is TWRP Custom Recovery Image?
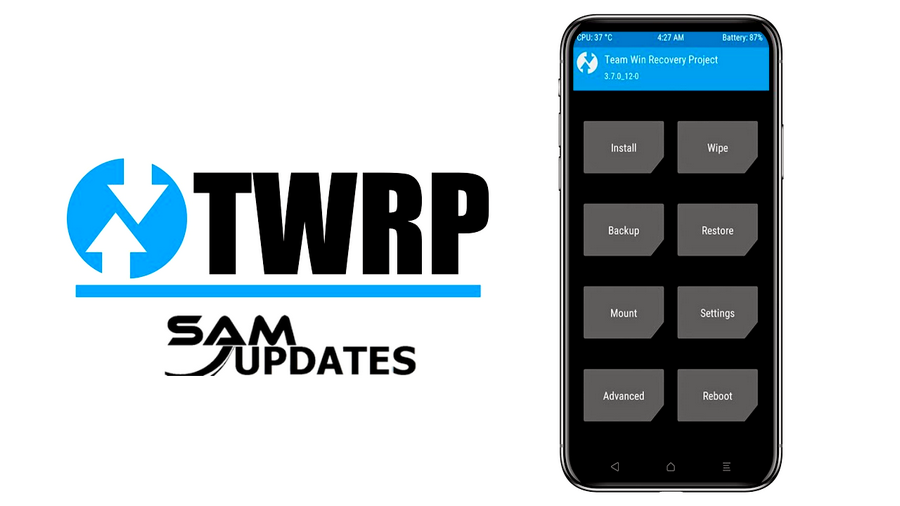
TWRP (TeamWin Recovery Project) is a custom recovery image for Android devices. It provides a touchscreen-enabled interface that allows users to perform various advanced tasks on their devices, primarily related to system recovery, backup, restoration, and customization. Here are some key features and functionalities of TWRP Recovery:
- Backup and Restore: TWRP allows users to create full system backups (commonly referred to as Nandroid backups) of their device’s entire operating system, including the system partition, user data, and installed applications. These backups can be essential for restoring a device to a previous state if something goes wrong during the customization process or when flashing custom ROMs.
- Flashing Custom ROMs and Kernels: One of the primary purposes of TWRP is to facilitate the installation of custom ROMs and kernels. Custom ROMs are aftermarket firmware distributions that offer various features, optimizations, and visual enhancements beyond what the stock firmware provides. With TWRP, users can flash custom ROMs and kernels from ZIP files directly from the recovery interface.
- Flashing Mods and Tweaks: TWRP allows users to flash various modifications, tweaks, and add-ons to customize their Android devices according to their preferences. These modifications can include custom themes, performance tweaks, battery optimizations, and more.
- Wiping and Formatting: TWRP provides options for wiping different partitions on the device, including the system, data, cache, and Dalvik cache partitions. Users can perform factory resets or wipe individual partitions as needed, which can be useful for troubleshooting or preparing the device for a clean installation.
- File Management: TWRP includes a built-in file manager that allows users to browse and manage files on their device’s internal storage, external SD card, or connected USB storage devices. This feature enables users to manually delete or move files, as well as copy files to and from the device.
- ADB Sideload: TWRP supports ADB (Android Debug Bridge) sideload, allowing users to transfer and install ZIP files from their computer to the device via a USB connection. This can be useful for flashing ROMs or mods when the device is unable to boot into the Android operating system.
Overall, TWRP Recovery is a powerful tool that provides Android enthusiasts and power users with the ability to perform advanced system-level tasks and customize their devices beyond the limitations of the stock firmware. However, it’s essential to exercise caution and follow proper procedures when using TWRP to avoid potential risks such as bricking the device or losing data.
How to Install TWRP Custom Recovery on Samsung Galaxy Devices?
There are several ways to simply flash custom ROMs, get root access, improve speed, and extend battery life. For all of these benefits, installing a TWRP recovery would be an initial step:
Step 1: Understand the Risks
Before diving into the installation process, it’s crucial to understand the risks involved. Modifying your device’s firmware can void your warranty and potentially brick your device if not done correctly. Proceed with caution and make sure you follow the steps precisely.
Step 2: Backup Your Data

Before making any changes to your device, it’s recommended to create a full backup of your current data using the provided apps. This will allow you to restore your device to its original state if anything goes wrong during the customization process.
Full Backup Guide: How to back up your Samsung Galaxy Devices?
Step 3: Enable Developer Options, USB Debugging and Enable OEM Unlocking
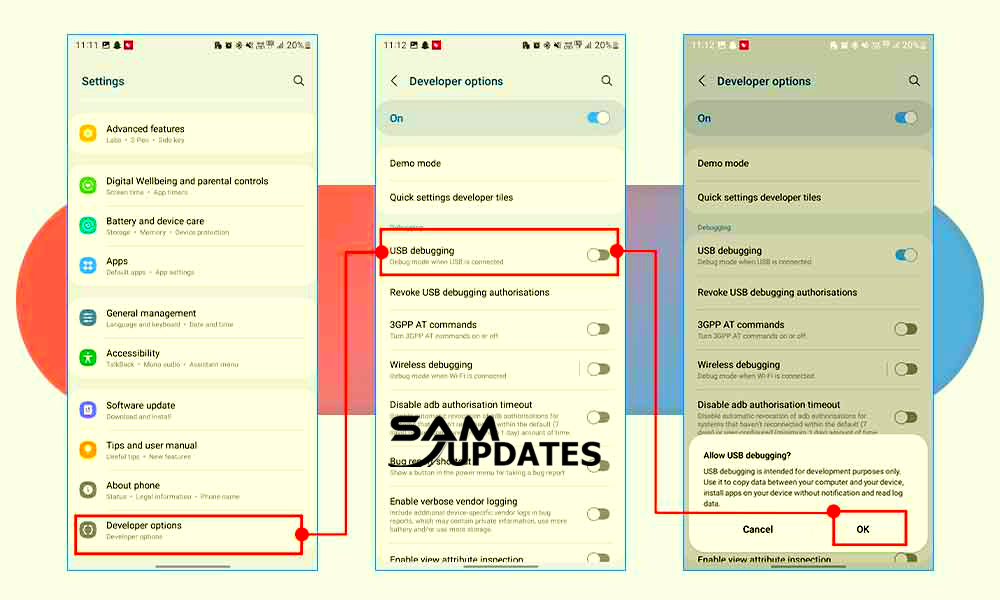
To begin, you’ll need to enable Developer Options on your Samsung Galaxy device. To do this, go to Settings > About phone > Software information, then tap on the “Build number” seven times. Once Developer Options is enabled, go back to the main Settings menu, enter Developer Options, and enable USB Debugging.
Developer Options Guide: How to Enable Developer Options or OEM Unlock on Samsung Galaxy Devices
Step 4: Download Required Files
Next, you’ll need to download the necessary files for installing TWRP on your device. Visit the official TWRP website to find the compatible TWRP recovery image for your specific Samsung Galaxy model. Additionally, download the latest version of Odin, a firmware flashing tool used for Samsung devices, and Samsung USB drivers for your PC.
Odin Guide: Download & How to Use Latest Odin for Samsung Flashing Tool
- Download TWRP for Samsung Galaxy devices (On PC)
- Download vbmeta.tar file (On PC)
- Download the Disable DM Verity Force Encrypt for Samsung (On your Phone)
Step 5: Boot into Download Mode

Power off your Samsung Galaxy device, then boot it into Download Mode by pressing and holding the Volume Down, Power, and Home buttons simultaneously. Once prompted, press the Volume Up button to enter Download Mode.
Download Mode Guide: How to Boot into Download Mode on Samsung Galaxy Devices
Step 6: Flash TWRP Using Odin
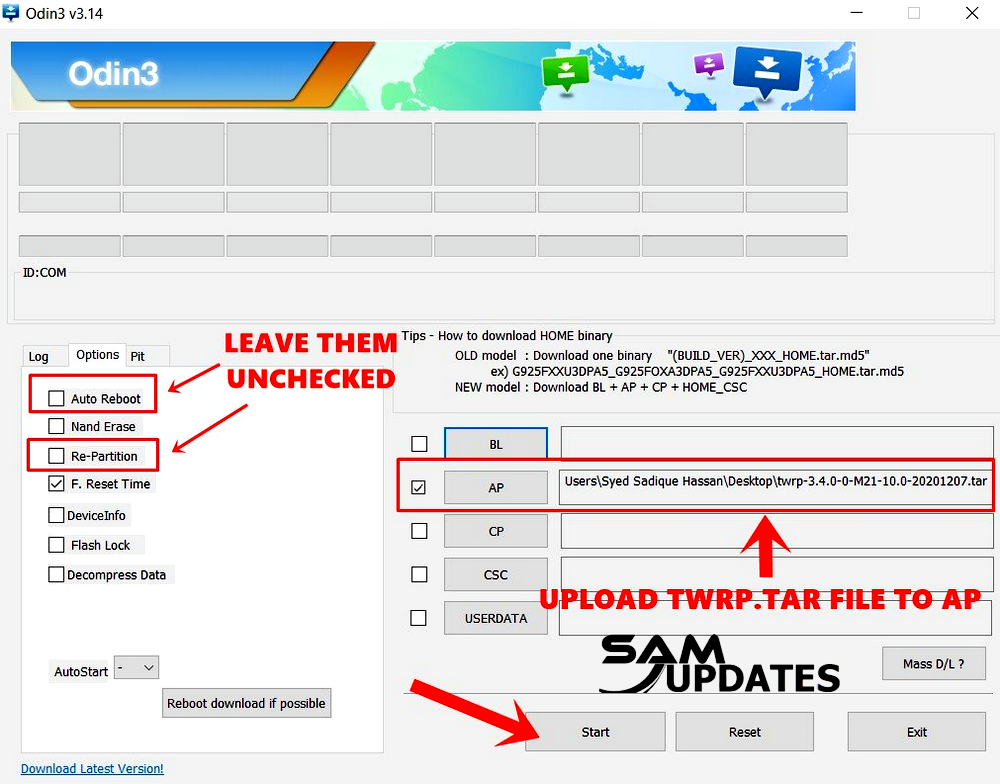
Connect your Samsung Galaxy device to your PC using a USB cable. Open Odin on your PC and ensure that your device is detected. Click on the “AP” or “PDA” button in Odin and select the TWRP recovery image file you downloaded earlier. Make sure that only the “Auto Reboot” and “F. Reset Time” options are checked in Odin, then click “Start” to begin the flashing process.
Step 7: Boot into TWRP Recovery
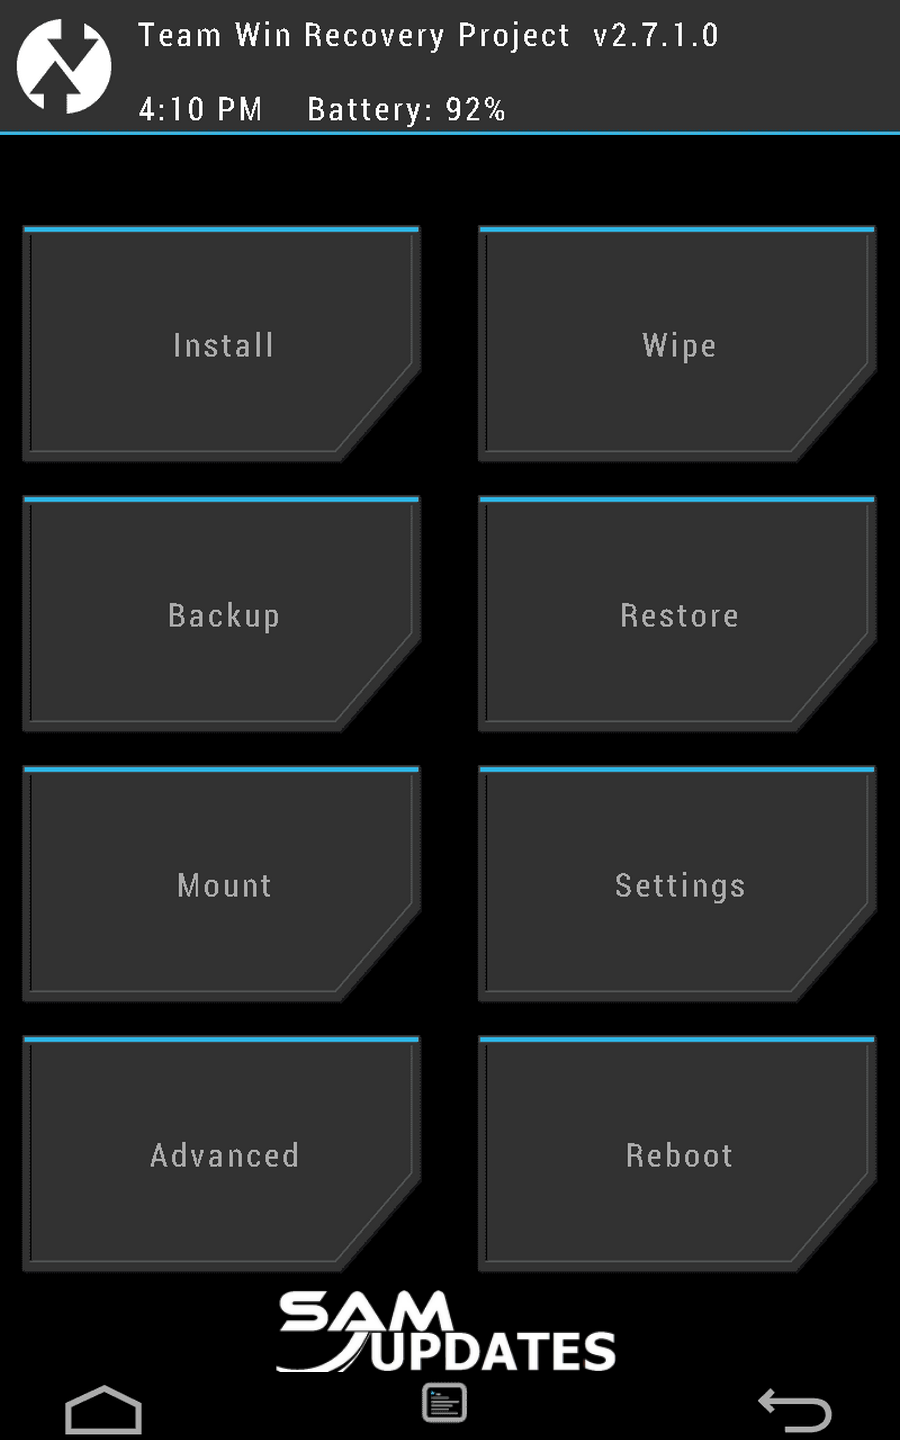
Once Odin indicates a successful flash, disconnect your device from the PC. To boot into TWRP recovery, press and hold the Volume Up, Power, and Home buttons simultaneously until the TWRP logo appears on the screen.
Step 8: Explore TWRP and Customize Your Device
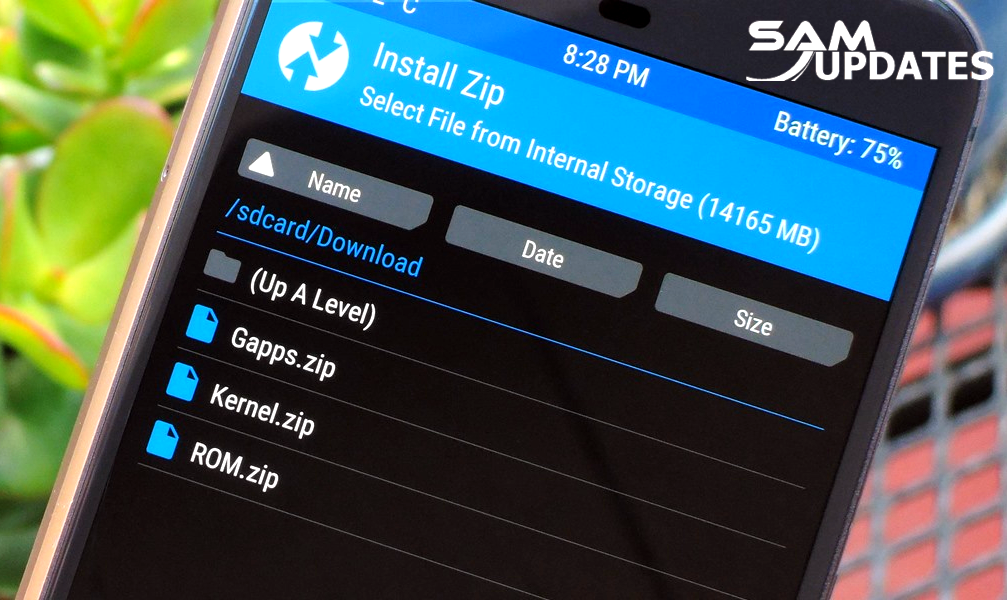
Congratulations! You’ve successfully installed TWRP on your Samsung Galaxy device. Now you can explore the various features and customization options offered by TWRP, such as flashing custom ROMs, kernels, mods, and performing system backups and restores.
Conclusion
Installing TWRP on your Samsung Galaxy device opens up a world of possibilities for customizing and enhancing your Android experience. However, it’s essential to proceed with caution and follow the steps carefully to avoid any potential risks. With TWRP installed, you’re ready to unleash the full potential of your Samsung Galaxy device and embark on a journey of endless customization.
If you want to learn more about my best Samsung Android Updates content One UI tips and tricks so that I can assist you in creating posts on SamUpdates.com every day, check out my latest articles on “Facebook” or “Twitter” and follow our social media accounts, or Leave a comment below to share your experience or ask questions.
