Trying to enable or unlock the bootloader on your Samsung Galaxy smartphone, but the OEM unlock option is missing? If so, you don’t need to search any further since we’ll show you how to fix the no OEM unlock in developer settings using several approaches. This can occur for a variety of reasons on Samsung smartphones. Fortunately, there are certain ways you may use to restore/enable the missing OEM unlock in developer settings.
OEM unlocking enables your Samsung device’s bootloader, allowing you to install custom firmware, operating systems, kernels, and other software. However, it has some hazards. In this extensive article, I’ll explain what OEM unlocking is, if you should activate it, and how to do it on Samsung Galaxy handsets.
Also Read: How to Back up your Samsung Galaxy Devices?
What are Developer Options?

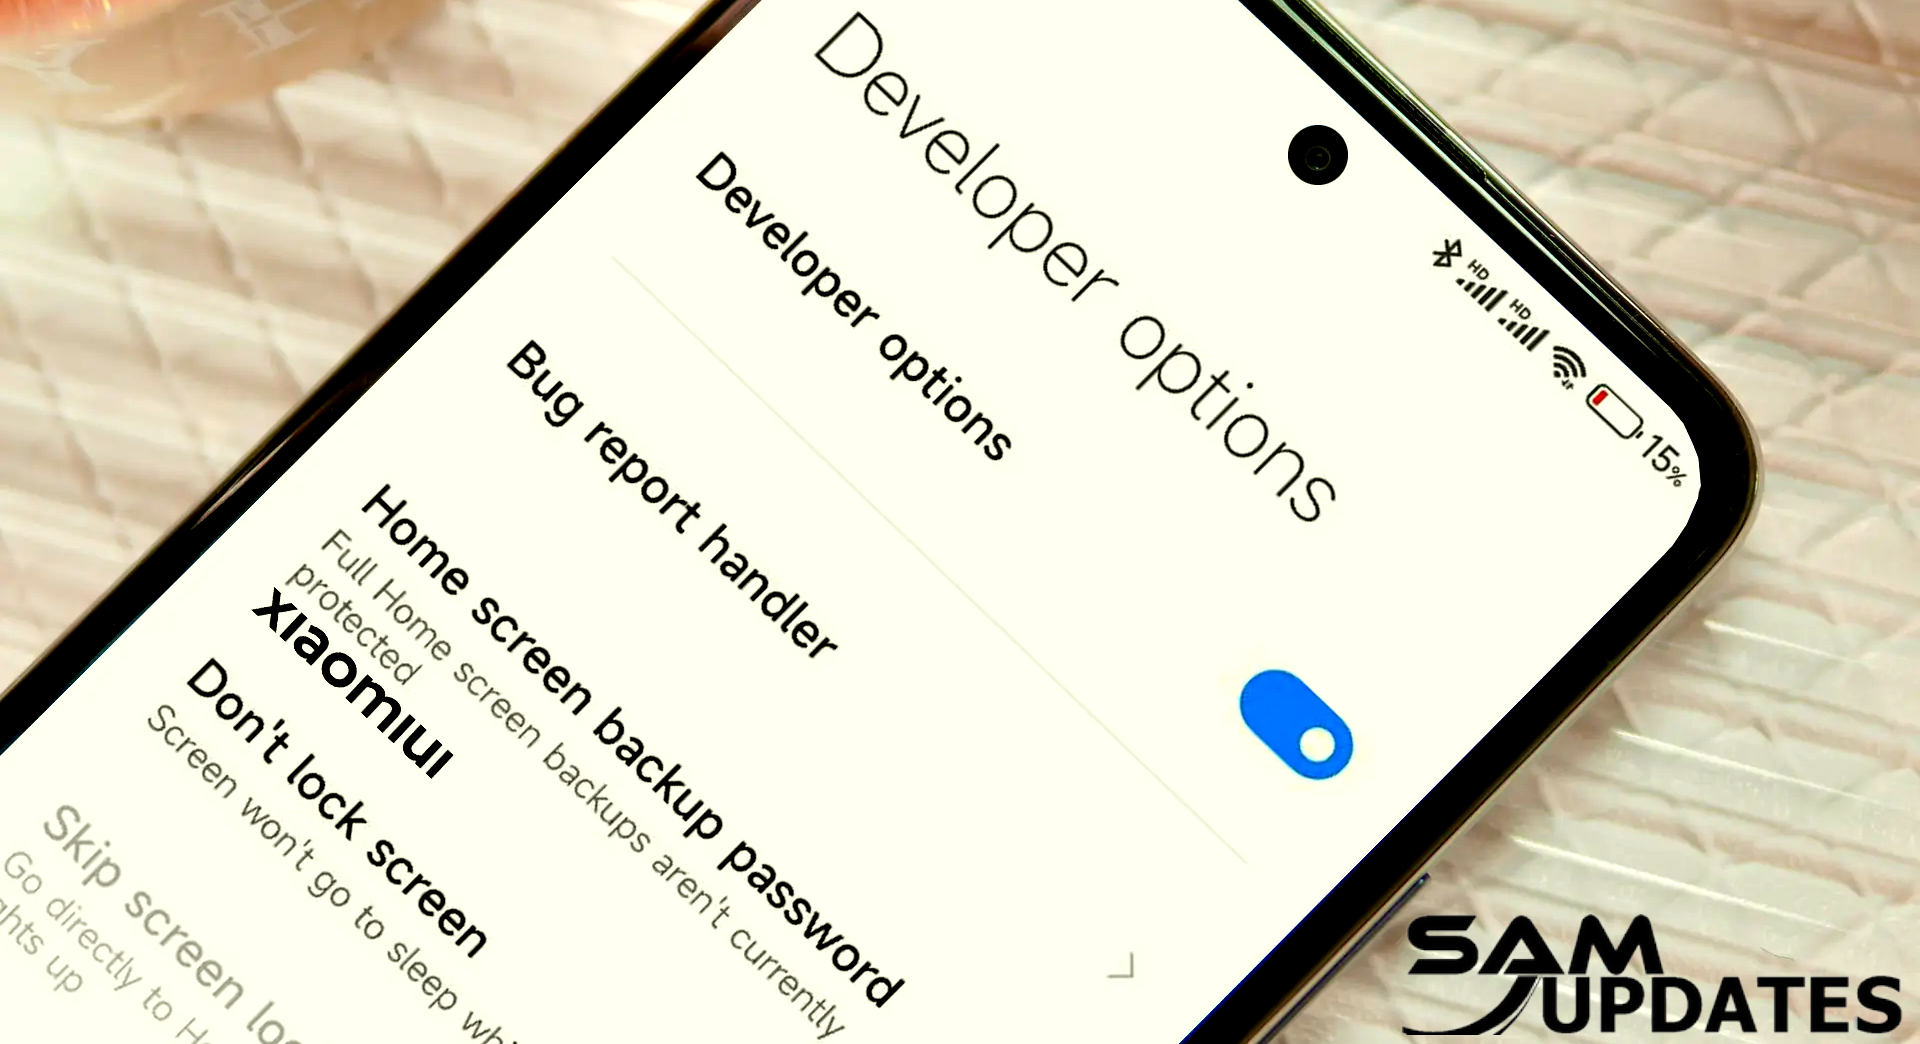
Developer Options are a collection of advanced options and functionality found on Android smartphones, including Samsung Galaxy handsets. These options are mostly meant for developers, as the name implies, but they can also be beneficial for experienced users who want greater control over their devices or wish to change certain settings.
Here are some of the key features and settings you can access through Developer Options:
- USB Debugging: This is one of the most commonly used features within Developer Options. USB debugging allows you to establish a direct USB connection between your Android device and a computer for advanced debugging, data transfer, and other development tasks.
- OEM Unlocking: Enabling OEM unlocking allows you to unlock the bootloader of your device, which is necessary for flashing custom ROMs or installing custom recovery images. However, be cautious, as unlocking the bootloader may void your device’s warranty and could potentially lead to security risks if not done properly.
- Advanced Reboot: This option adds additional reboot options to the power menu, such as rebooting directly into recovery mode or bootloader mode.
- Stay Awake: When enabled, this setting prevents your device’s screen from turning off while it’s charging, which can be useful for development or testing purposes.
- Show Touches: Enabling this option displays visual feedback (such as a circle) on the screen when you touch it, which can be helpful for screen recording or demonstrating app interactions.
- Force RTL Layout Direction: This setting forces the layout direction of the user interface to be right-to-left (RTL), which can be useful for testing app compatibility with languages that read from right to left, such as Arabic or Hebrew.
- GPU Rendering: Developer Options allows you to control hardware-accelerated rendering of the user interface and 2D graphics, which can help diagnose performance issues or compatibility problems with certain apps.
- Mock Location App: This feature allows you to specify an app to provide mock location data to your device, which can be useful for testing location-based apps without physically moving to different locations.
These are just a handful of the numerous options and features found in Developer Options. While these choices provide you with greater power and flexibility, they also come with a warning: making erroneous modifications or tweaks to certain settings might cause instability or other problems with your device. As a result, you must proceed with caution and only make changes if you understand the consequences.
Also Read: Samsung Android USB Driver for Windows (Latest)
What is OEM Unlock?

The term “OEM unlock” refers to the ability to unlock an Android device’s bootloader. The word “OEM” means for Original Equipment Manufacturer, and in the case of Android smartphones, it usually refers to the firm that made the device, such as Samsung, Google, or OnePlus.
The bootloader is a piece of software that loads the operating system onto a device when it is turned on. Most Android devices ship with locked bootloaders, which restrict users from downloading custom firmware or making low-level changes to the device’s software.
Enabling OEM Unlock enables users to unlock the bootloader, allowing them to install custom ROMs, root the device, and do other sophisticated customizations. However, unlocking the bootloader may have various implications:
- Warranty Void: Unlocking the bootloader often voids the device’s warranty, as it involves modifying the device’s software beyond the manufacturer’s intended configuration.
- Security Risks: Unlocking the bootloader can expose the device to potential security risks, as it bypasses some of the built-in security measures designed to protect the device’s software integrity.
- Data Loss: Unlocking the bootloader typically involves wiping the device’s data, including apps, settings, and personal files. Therefore, it’s crucial to back up any important data before proceeding with unlocking the bootloader.
Enabling OEM Unlock in the Developer Options menu is the first step in unlocking the bootloader. Once OEM Unlock is enabled, users can use manufacturer-specific or third-party tools to unlock the bootloader.
It’s crucial to note that unlocking the bootloader is a complex technique that should only be attempted by experienced users who understand the dangers and are prepared to face the potential repercussions, like as voiding the device’s warranty and jeopardizing its security.
Also Read: Download Latest Odin Flashing Tool for Samsung Galaxy Devices
How to Enable Developer Options on Samsung Galaxy Devices?

Enabling Developer Options on Samsung Galaxy devices is a straightforward process. Here’s a step-by-step guide:
- Open Settings: Open the Settings app on your Samsung Galaxy device. You can typically find it by tapping the gear-shaped icon in the app drawer or by swiping down from the top of the screen and tapping the gear icon in the notification shade.
- Navigate to About Phone: Scroll down to the bottom of the Settings menu and select “About Phone” or “About Device.”
- Click on Software Information: Scroll down to the bottom of the Settings menu and select “Software Information”.
- Find Build Number: In the “About Phone” menu, locate the “Build Number” entry. This option may also be labeled as “Software Information” or similar. It’s usually located towards the bottom of the list.
- Tap Build Number: Tap on the “Build Number” entry multiple times in quick succession. You may be prompted to enter your device’s PIN or unlock pattern for security purposes.
- Enter PIN or Password: If prompted, enter your device’s PIN, password, or unlock pattern to confirm your action. This step is necessary to ensure that only authorized users can access Developer Options.
- Enable Developer Options: After entering the correct PIN or password, you should see a message indicating that “Developer mode has been turned on” or a similar message. This means that Developer Options have been enabled on your device.
- Access Developer Options: Now, return to the main Settings menu. You should see a new option called “Developer Options” or “Developer Settings” listed above or below “About Phone.” Tap on it to access a wide range of advanced settings and features.
- Configure Developer Options: Within the Developer Options menu, you can explore various settings and features tailored towards developers and advanced users. Be cautious when making changes, as modifying certain settings incorrectly could adversely affect your device’s performance or stability.
- Disable Developer Options (Optional): If you ever want to disable Developer Options, you can do so by toggling the switch at the top of the Developer Options menu. Alternatively, you can go back to the “About Phone” menu and tap the “Build Number” entry multiple times again to turn Developer Options off.
That’s it! You’ve successfully enabled Developer Options on your Samsung Galaxy device. Now you can explore additional settings and customization options to tailor your device to your preferences.
Also Read: How to Boot into Download Mode on Samsung Galaxy Devices
How to Enable OEM Unlock on Samsung Galaxy Devices?

Enabling OEM Unlock on Samsung Galaxy devices is essential if you plan to unlock the bootloader, which allows you to install custom firmware or root your device. Here’s how you can do it:
- Enable Developer Options: If you haven’t already done so, follow the steps outlined earlier to enable Developer Options on your Samsung Galaxy device.
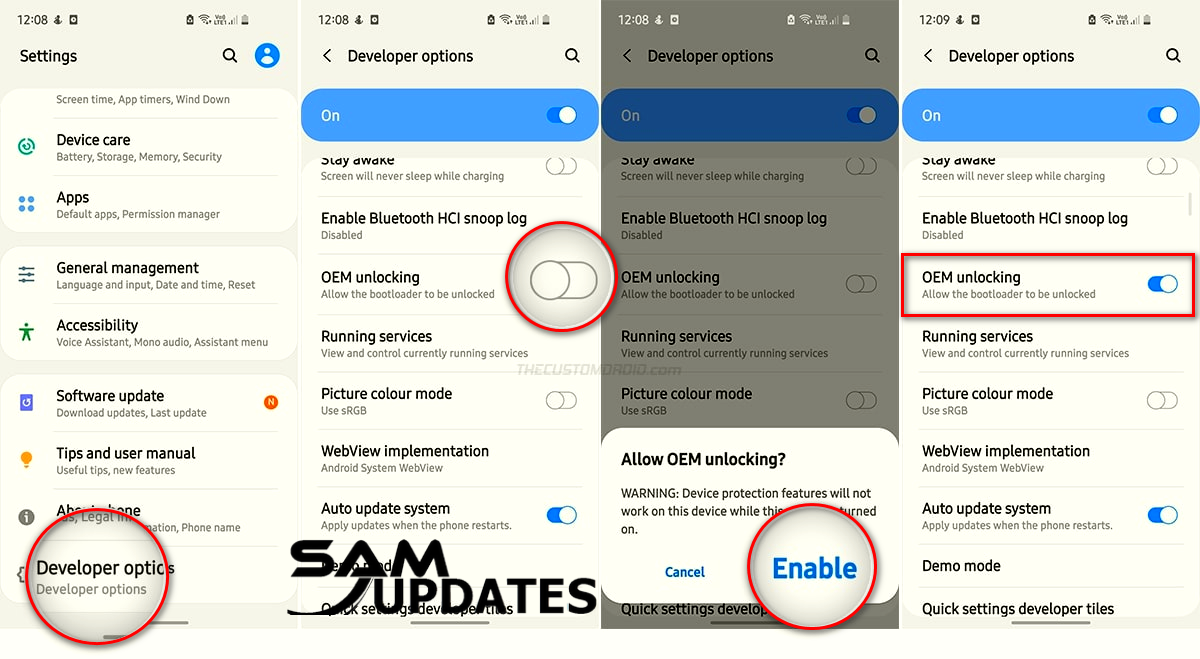
- Access Developer Options: Once Developer Options is enabled, go to the main Settings menu and scroll down to find “Developer Options” or “Developer Settings.”
- Enter Developer Options: Tap on “Developer Options” to enter the menu.
- Enable OEM Unlocking: Within the Developer Options menu, locate the option labeled “OEM unlocking” or “OEM Unlock.” It’s typically located towards the top of the list.
- Toggle OEM Unlock: Tap on the toggle switch next to “OEM unlocking” to enable it. You may be prompted to enter your device’s PIN, password, or unlock pattern to confirm your action.
- Confirm the Action: If prompted, read the warning message carefully and confirm that you want to enable OEM unlocking. This step is crucial because unlocking the bootloader can void your device’s warranty and may lead to security risks.
- Unlock the Bootloader (Optional): Once OEM unlocking is enabled, you can proceed to unlock the bootloader of your Samsung Galaxy device. Keep in mind that the process of unlocking the bootloader varies depending on the specific model and carrier restrictions. You’ll typically need to use tools provided by Samsung or third-party developers to unlock the bootloader safely.
It’s important to note that enabling OEM unlocking is irreversible and may void your device’s warranty. Additionally, unlocking the bootloader can potentially cause data loss and may expose your device to security risks.
Also Read: Download Latest SamFw FRP Tool Remove Samsung FRP One Click
Conclusion
In conclusion, enabling OEM Unlock on Samsung Galaxy devices is a necessary step if you plan to unlock the bootloader for advanced customization and modification. To enable OEM Unlock, follow these steps:
- Enable Developer Options on your Samsung Galaxy device by tapping on the “Build Number” entry multiple times in the “About Phone” or “About Device” section of the Settings menu.
- Access Developer Options from the main Settings menu.
- Locate the “OEM unlocking” or “OEM Unlock” option within the Developer Options menu.
- Toggle the switch next to “OEM unlocking” to enable it.
- Confirm the action by entering your device’s PIN, password, or unlock pattern if prompted.
- Proceed with unlocking the bootloader using appropriate tools and methods, keeping in mind the potential risks and consequences.
Remember that enabling OEM unlocking is irreversible and may void your device’s warranty. Unlocking the bootloader can also lead to data loss and security risks, so it’s essential to proceed with caution and fully understand the implications before taking any further steps.
If you want to learn more about my best Samsung Android Updates content One UI tips and tricks so that I can assist you in creating posts on SamUpdates.com every day, check out my latest articles on “Facebook” or “Twitter” and follow our social media accounts, or Leave a comment below to share your experience or ask questions.
