Samsung Odin is a ROM flashing tool for Samsung Android smartphones and tablets. This includes supporting all Samsung Galaxy devices. You may acquire the latest Odin from our Odin Download page.
Download Odin and flash / install Custom ROM on your Samsung Android handset. To install Custom ROMs for Android phones, you must have root access. Custom ROMs are created using official OTA firmware and other resources. Odin is commonly used for Android firmware updates, as well as the installation of custom ROMs and kernels.
What is Odin Flash Tool?

The Odin Flash Tool is a utility app that is generally used to flash firmware or custom ROMs on Samsung Android smartphones. It is widely used by skilled users, developers, and professionals to alter or repair Samsung devices and tablets.
Here’s an overview of its functionalities:
- Flashing Firmware: One of the primary purposes of Odin is to flash official Samsung firmware onto Samsung devices. This can be useful for restoring devices to factory settings or updating them to newer software versions.
- Custom ROM Installation: Odin can also be used to flash custom ROMs onto Samsung devices. Custom ROMs are modified versions of the Android operating system, offering additional features or customization options beyond what’s provided by the stock firmware.
- Rooting: Odin is often used in conjunction with rooting procedures, which grant users elevated privileges on their devices. Rooting allows users to access and modify system files and settings that are normally restricted.
- Kernel Installation: Advanced users may use Odin to flash custom kernels onto their devices. Kernels are responsible for controlling various hardware components of the device and can be customized to improve performance, and battery life, or add additional features.
- Partition Modification: Odin can also be used to modify specific partitions on the device’s internal storage, such as the system partition or recovery partition.
Download Latest Odin Samsung Flashing Tool

The latest version of the Samsung Odin Flashing tool is the v3.14.4 version. We have included every version of the Odin Flash tool:
- Odin3-v3.14.4: Download | Mirror (Latest)
- Odin3-v3.14.1: Download
- odin3_v3.13.3: Download
- Odin3 v3.13.1: Download
- Odin3_v3.12.10: Download
- odin3_v3.12.7: Download
- odin3_v3.12.5: Download
- odin3_v3.12.4: Download
- odin3_v3.12.3: Download
- odin3_v3.11.2: Download
- odin3_v3.11.1: Download
- odin3_v3.10.7: Download
- odin3_v3.10.6: Download
- odin3_v3.10.5: Download
- Odin_v3.10.0: Download
- odin3_v3.09: Download
- odin3_v3.07: Download
- odin3_v3.06: Download
- odin3_v3.04: Download
- odin3_v1.86: Download
- odin3_v1.82: Download
- odin3_v1.70: Download
How to Flash Samsung Galaxy Devices using Odin Flash Tool?
Flashing Samsung Galaxy devices using the Odin Flash Tool involves several steps. Here’s a comprehensive guide:
Step 1: Download Necessary Files
- Download and install Samsung USB drivers on your computer.
- Download the latest version of Odin Flash Tool from our website.
- Obtain the firmware for your specific Samsung Galaxy device model. Ensure it’s compatible and intended for your device’s region and carrier (if applicable).
- Extract the downloaded Odin and firmware files to easily access them during the flashing process.
Step 2: Backup Data:
- Before proceeding with flashing, it’s recommended to back up all important data on your device to prevent any potential loss during the process.
Step 3: Enable USB Debugging:
- On your Samsung Galaxy device, go to Settings > About phone.
- Tap on the “Build number” multiple times until you see a message confirming that Developer Options have been enabled.
- Go back to the main Settings menu, then navigate to Developer Options.
- Enable USB debugging.
Step 4: Boot Device into Download Mode:

- Power off your Samsung Galaxy device completely.
- Press and hold the Volume Down, Home, and Power buttons simultaneously until you see a warning screen.
- Press the Volume Up button to enter Download Mode.
Here is a complete guide on how to boot into download mode on Samsung Galaxy devices.
Step 5: Launch Samsung Odin Flash Tool
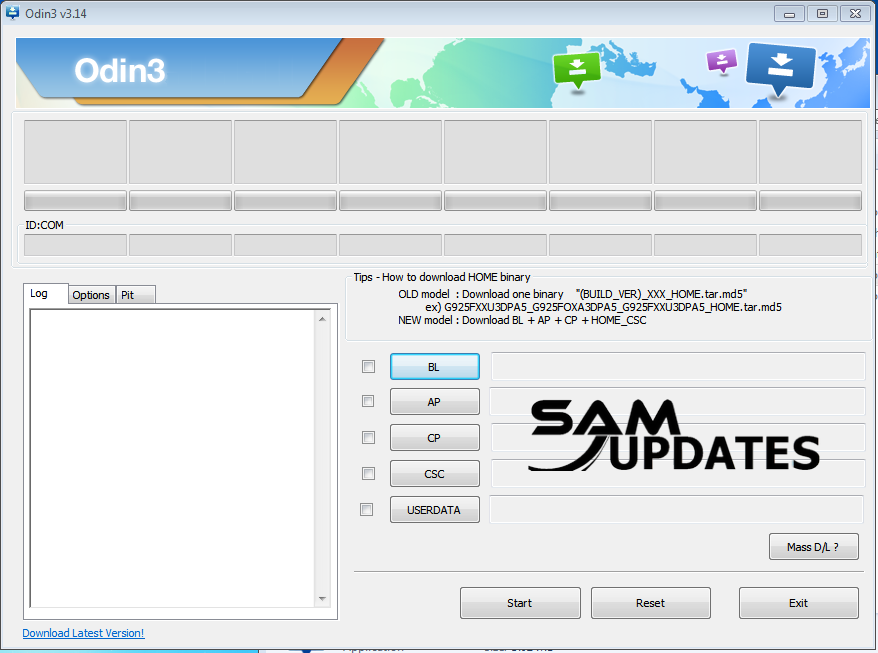
- Run the Odin Flash Tool executable (.exe) on your computer as an administrator. Right-click on the Odin executable and select “Run as administrator” if necessary.
- Odin should recognize your device and display a blue or yellow ID: COM port indicating that your device is detected. If not, ensure the Samsung USB drivers are installed correctly, or try using a different USB cable or port.
Step 6: Load Firmware in Odin:
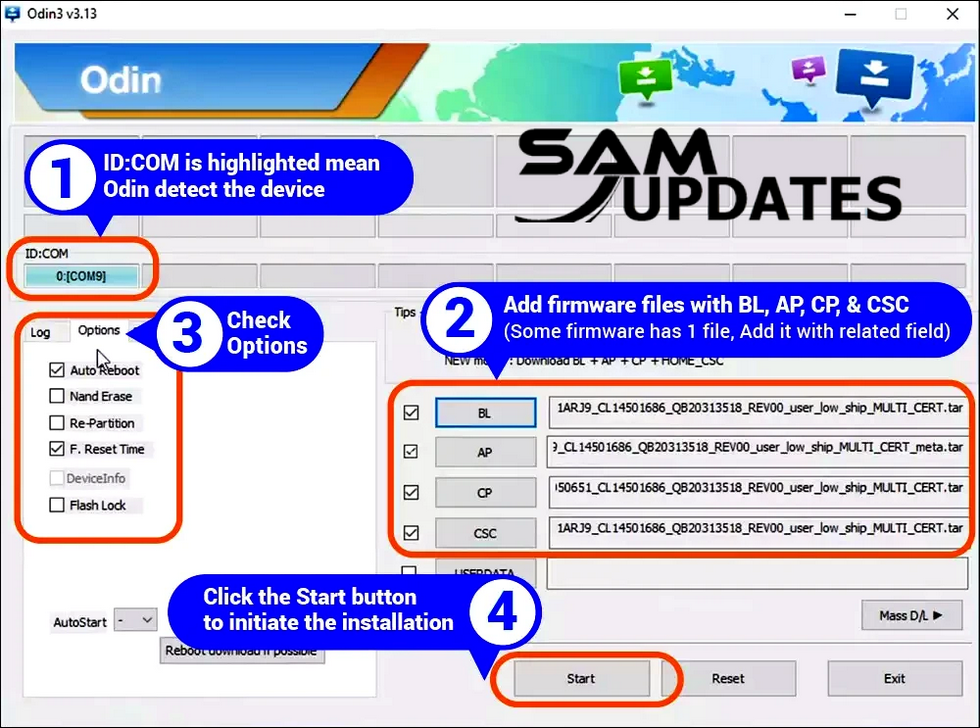
- In Odin, click on the respective buttons and select the corresponding firmware files:
- Click on the BL button and select the firmware file with “BL” in its name.
- Click on the AP button and select the firmware file with “AP” in its name.
- Click on the CP button and select the firmware file with “CP” in its name.
- Click on the CSC button and select the firmware file with “CSC” in its name. (Note: Select the CSC file if you want to perform a clean flash, which will erase all data on your device. Otherwise, select the Home_CSC file to keep your data intact.)
- Ensure that only the necessary options like “Auto Reboot” and “F. Reset Time” are selected in Odin. Do not modify any other settings unless you’re an experienced user.
Step 7: Initiate Flashing:
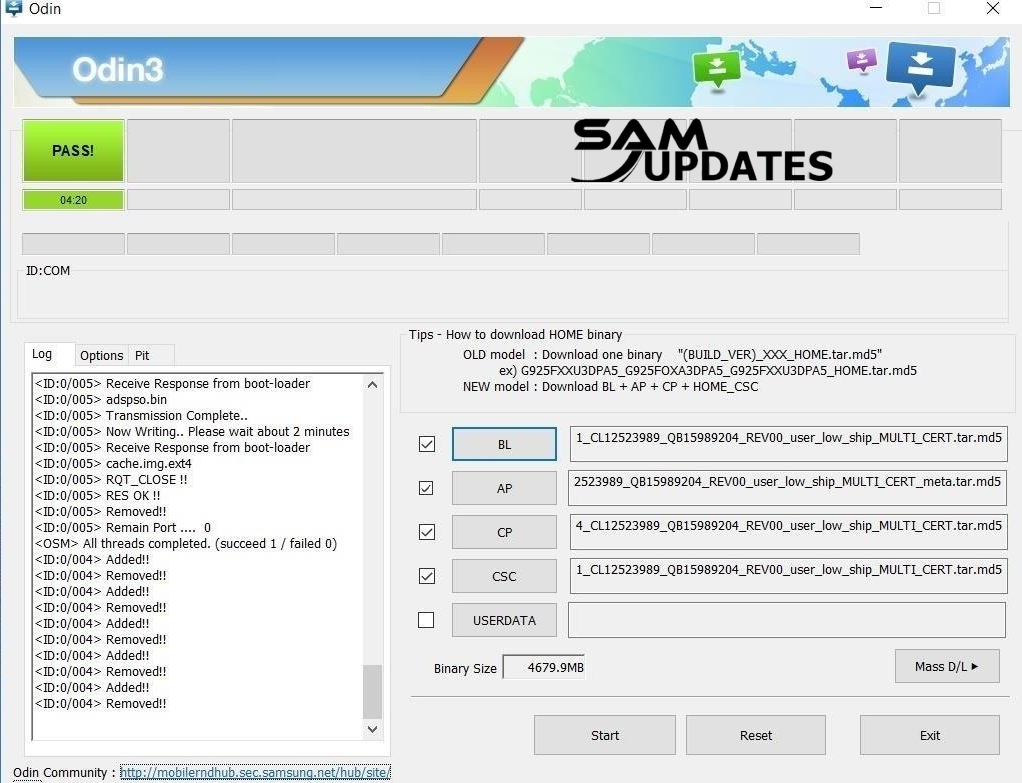
- Once all the firmware files are loaded in the respective slots, double-check everything to ensure accuracy.
- Click on the “Start” button in Odin to begin the flashing process.
- Do not disconnect your device or interfere with the process until it’s completed.
Step 8: Completion and Reboot:
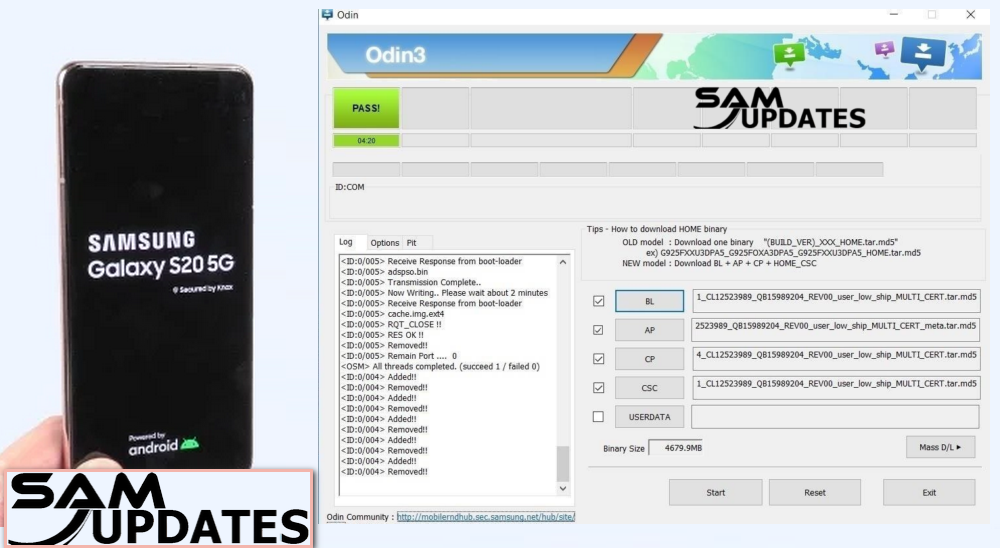
- After Odin successfully flashes the firmware onto your device, you should see a “PASS!” message in Odin’s log.
- Your Samsung Galaxy device will automatically reboot. You can now safely disconnect it from the computer.
Step 9: Setup and Verification:
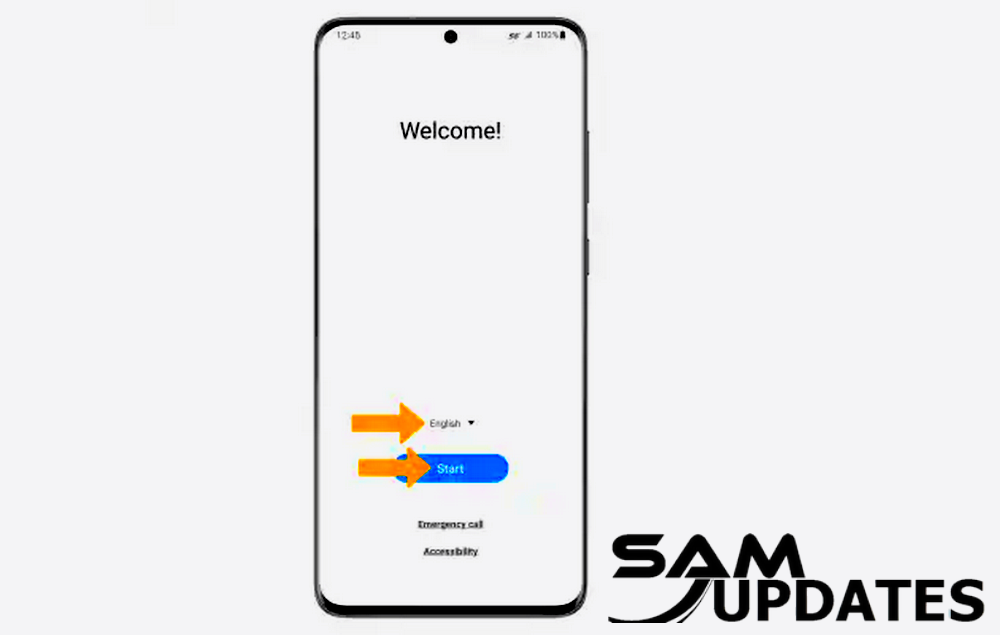
- Upon rebooting, your device will go through the initial setup process as if it were brand new.
- Verify that your device is functioning properly and that the firmware has been successfully flashed.
That’s it! You’ve now successfully flashed your Samsung Galaxy device using Odin Flash Tool.
Conclusion
In conclusion, the Odin Flash Tool is a sophisticated program for Samsung Galaxy smartphones that lets you flash firmware, custom ROMs, and kernels, and make other complex changes. However, to minimize potential hazards like bricking your device, proceed with caution and carefully follow the instructions.
Before using Odin, make sure you get the most recent version from a reliable source and get suitable firmware for your device. Additionally, downloading Samsung USB drivers and putting your device into Download Mode are critical stages in the flashing procedure.
Once everything is set up, load the firmware files into Odin, connect your device to the computer, and start the flashing procedure. Be patient and don’t stop the procedure until it’s done successfully.
After flashing, your device will reboot, and Odin should display a “PASS” message, confirming that the process was successful. Disconnect your device from the computer, set it up, and restore any backed-up data as needed.
Overall, the Odin Flash Tool may be a useful tool for skilled users and developers, but it takes careful attention to detail to ensure a smooth and effective flashing process.
If you want to learn more about my best Samsung Android Updates content One UI tips and tricks so that I can assist you in creating posts on SamUpdates.com every day, check out my latest articles on “Facebook” or “Twitter” and follow our social media accounts, or Leave a comment below to share your experience or ask questions.
